Client Service Excellence
Private Chef Client Experience: From Inquiry to Thank You Note
29 July 2026 · 11 min read
Want my complete client communication templates and scripts? Get the book with every email, contract clause, and follow-up sequence I use to turn first-time clients into regulars.
Get the Book →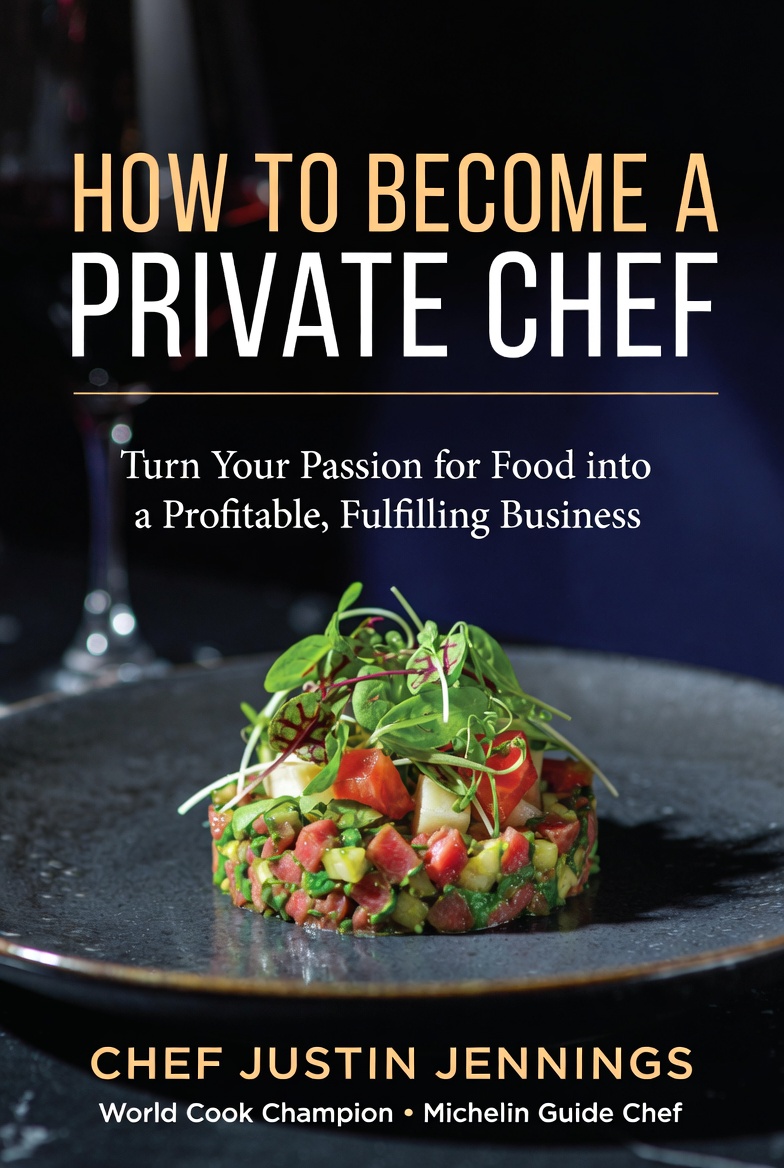
The food is only half the job.
I learned this the hard way after my third private chef event. The meal was flawless perfectly cooked beef, beautiful plating, guests raving at the table. But I fumbled the follow-up. No thank-you message. No request for feedback. No system to stay in touch. That client never booked again, and I'll never know if it was because of my silence or if they just moved on.
Restaurant chefs don't have to think about this. The front-of-house team handles the experience. But as a private chef, you own every touchpoint from the first email to the thank-you note three days later. Get it right, and clients book you again, refer their friends, and become evangelists for your business. Get it wrong, and you're constantly hunting for new clients instead of building relationships with existing ones.
Here's the complete client experience framework I've refined over six years and hundreds of events. This is what separates private chefs who struggle from those who build thriving, repeat-client businesses.
Stage 1: First Contact (The 4-Hour Window)
Speed matters more than perfection here. When someone reaches out, they're often contacting multiple chefs. Whoever responds first professionally and warmly usually gets the booking.
Response time benchmark: Under 4 hours during business hours. Under 12 hours for evening/weekend inquiries. Any longer, and you're probably losing half your potential clients.
What to include in your initial response:
- Thank them for reaching out (use their name)
- Confirm you're available on their date (or suggest alternatives if not)
- Ask 2-3 clarifying questions about the event (guest count, dietary needs, occasion)
- Mention your style or relevant experience that fits their needs
- Offer a brief phone call or video chat to discuss details
- Set expectations for next steps and timeline
Example response template:
"Hi [Name], thanks for reaching out! I'd love to cook for your anniversary dinner on the 15th that date is open for me. To create the perfect menu, I'd like to know: How many guests will you have? Are there any dietary restrictions I should know about? What style of service appeals to you plated multi-course, or family-style? I specialize in Australian-Asian fusion with seasonal European ingredients, and I'd be happy to discuss menu ideas over a quick call this week. Does tomorrow or Thursday afternoon work for a 15-minute chat? Looking forward to creating something special for you. - Justin"
Notice what this does: It's personal, confirms availability immediately, asks smart questions, establishes expertise, and moves toward a conversation. You're not sending a full proposal yet that comes after you understand their needs.
Stage 2: Consultation Call (Building Trust and Clarity)
This is where you convert interest into bookings. The consultation isn't about selling it's about listening, asking the right questions, and demonstrating that you understand their vision.
Questions to ask during consultation:
- What's the occasion? (Anniversary, birthday, client dinner, celebration?)
- What kind of evening are you imagining? (Formal, relaxed, intimate?)
- Are there any must-have dishes or ingredients?
- Any dietary restrictions or allergies I should know about?
- How do your guests typically eat adventurous, traditional, refined?
- What's your kitchen setup like? (Oven, stovetop, space, equipment)
- Do you want me to stay and serve courses, or set everything up and leave?
- What's your budget range for this event?
That last question budget often feels awkward. I've learned to frame it as: "To make sure I design a menu that fits your expectations, what range were you thinking for the evening?" Most clients appreciate the directness. It saves everyone time.
What you're really assessing: Beyond logistics, you're evaluating client fit. Are they respectful? Do they have realistic expectations? Are there red flags (vague answers, price-shopping, demanding tone)? Trust your gut. If something feels off, it probably is. You can politely decline by saying you're not available or that another chef might be a better fit.
End the call with clear next steps: "I'll send you a detailed proposal with menu options and pricing by [specific time]. If you have questions, we can jump on another quick call, or you can book directly if everything looks good."
Stage 3: Proposal and Menu (Setting Expectations)
Send your proposal within 24 hours of the consultation. Speed signals professionalism and enthusiasm. Waiting three days signals you're busy with other things (even if you're not).
What to include in your proposal:
- Personalized intro: Reference something from your call ("You mentioned your guests love seafood...")
- Menu options: 2-3 menu concepts at different price points if possible
- What's included: Groceries, preparation, service, cleanup (be specific)
- What's NOT included: Alcohol, rentals, service staff, travel beyond X km
- Pricing breakdown: Per person or flat rate, with optional add-ons
- Timeline: Arrival time, service start, estimated finish
- Deposit and payment terms: X% deposit to secure date, balance due when
- Cancellation policy: Clear and fair terms
- Next steps: How to confirm booking (reply, sign contract, pay deposit)
Include photos of past events if possible. Seeing your work builds confidence. And make sure your menu descriptions are mouth-watering without being overwrought focus on simplicity and flavor, not flowery adjectives.
Want My Full Client Communication System?
Get email templates, proposal formats, contract clauses, and follow-up sequences that turn inquiries into loyal, repeat clients.
Get the Book Now →🏆 World Cook Champion · ⭐ MICHELIN Selected · 📖 300+ Pages
Stage 4: Booking Confirmation (Lock It In)
Once they accept your proposal, move quickly to secure the booking. Send your contract immediately (same day) and request the deposit within 48 hours. Dates aren't reserved until money changes hands I've learned this lesson multiple times.
Your contract should include:
- Client and chef details (names, contact info, addresses)
- Event date, time, location
- Confirmed guest count and menu
- Total price and payment schedule
- What's included and what's excluded
- Menu change deadline (typically 5-7 days before event)
- Cancellation and refund policy
- Liability waiver (your insurance should cover this, but have it in writing)
- Kitchen access and setup details
- Signatures and date
Use a simple electronic signature tool (DocuSign, HelloSign, even Google Docs works). Make it easy for clients friction kills conversions.
Once the contract is signed and deposit received, send a confirmation email: "Thank you! Your event is officially booked for [date]. I'll reach out one week before to confirm final details and answer any last-minute questions. Looking forward to cooking for you!"
Stage 5: Pre-Event Communication (Final Details)
One week before the event, send a check-in email. This prevents last-minute chaos and shows you're on top of things.
Pre-event checklist to confirm:
- Final guest count (caterers usually allow adjustments up to 3 days out)
- Any new dietary restrictions or changes
- Arrival time and parking instructions
- Kitchen access and equipment confirmation
- Where to set up and serve
- Final menu approval (unless already locked in)
- Special requests or presentation details
This email also gives clients one last chance to make adjustments before you buy ingredients. It reduces stress for everyone.
The day before, send a brief reminder: "Looking forward to tomorrow evening! I'll arrive at [time] to start setup. If anything comes up, my mobile is [number]."
Stage 6: Event Day (Execution and Presence)
Arrive early. Seriously. I aim for 30-60 minutes before I need to start cooking, depending on complexity. This gives me time to assess the kitchen, adjust if needed, and settle in without rushing.
First impressions on arrival:
- Dress professionally (clean chef whites or smart casual depending on formality)
- Bring all your own equipment (don't assume anything)
- Greet the host warmly but keep it brief they're often stressed and getting ready
- Do a quick kitchen walk-through to confirm everything matches expectations
- Stay organized and tidy kitchens in private homes aren't designed for restaurant-level chaos
During service: Stay professional, warm, and adaptable. Acknowledge guests briefly but don't linger unless the vibe invites conversation. Read the room some clients want you to be invisible, others want you to tell stories about the dishes. Follow their lead.
Handle mistakes with grace. If something goes wrong (burnt garnish, timing issue, dropped plate), fix it calmly and move forward. Clients remember how you handle problems more than the problems themselves.
Before you leave: Clean the kitchen to the condition you found it (or better). Take out all your trash. Wipe down surfaces. Leave the space spotless. This is part of the service, and it's what separates professionals from amateurs.
Say a warm goodbye: "Thank you so much for having me. I hope you and your guests enjoyed the evening. If you ever want to do this again, just let me know." Don't ask for feedback on the spot they're tired and you're tired. Save it for the follow-up.
Stage 7: Follow-Up (Turning Clients Into Advocates)
This is where most private chefs drop the ball. They cook a great meal, leave, and move on. Huge mistake. The follow-up is where you build the relationship that leads to repeat bookings and referrals.
Within 24 hours: Send a personalized thank-you email. Reference something specific from the evening ("Your guests' reaction to the beef course was wonderful") and let them know you'd love to cook for them again. Include a gentle ask for a testimonial or review.
Example follow-up email:
"Hi [Name], thank you again for inviting me into your home last night. It was a pleasure cooking for you and your guests the energy at the table during the beef course was exactly what I love about this work. I hope the evening felt special. If you have a moment, I'd be grateful if you could share a few words about your experience. It helps other families discover what I do. Here's a link to leave a quick review: [link]. And if you'd like to plan another dinner (or know someone who might), I'd love to cook for you again. All the best, Justin"
One week later: If they haven't responded or left a review, send a gentle nudge. Don't be pushy just a friendly check-in.
Add them to your email list: With permission, keep in touch with occasional updates: seasonal menu offerings, new services, availability for upcoming holidays, or interesting recipes and stories. Email once a month maximum. The goal is to stay top of mind without being annoying.
When someone books you a second time, send a small thank-you gesture a handwritten note, a jar of homemade chili oil, a recipe card from the menu you cooked. Thoughtful touches like this turn clients into raving fans.
Stage 8: Nurturing Long-Term Relationships
The best private chef businesses are built on repeat clients and referrals, not constantly chasing new leads. Here's how to turn one-time clients into regulars:
- Track preferences: Keep notes on what they loved, dietary needs, service style, special occasions. Reference these in future communications.
- Proactive outreach: If you cooked for an anniversary, reach out the following year: "I'd love to cook for your anniversary again this year let me know if you're interested."
- Referral incentives: Offer a discount or free add-on for clients who refer new bookings.
- Exclusive offers: Give past clients first access to holiday bookings or new menu concepts.
- Stay memorable: Send a holiday card, share a recipe, post a photo from their event (with permission). Keep the connection alive.
About 40% of my annual bookings now come from repeat clients and referrals. That wouldn't have happened if I'd treated each event as a one-off transaction instead of the beginning of a relationship.
What Great Client Experience Actually Means
Here's the truth: Most private chefs are good cooks. The ones who build thriving businesses are also good at making people feel valued, understood, and cared for. That's what clients remember. That's what they tell their friends about.
The food matters. But the experience around the food the responsiveness, the professionalism, the warmth, the follow-through is what turns a good meal into a relationship.
Every touchpoint is an opportunity to show that you're not just another chef for hire. You're someone they want in their home, someone they trust, someone they'll call again.
Get My Complete Client Communication System
Ready to deliver the kind of client experience that builds a thriving private chef business? My book includes:
- Email templates for every stage (inquiry response, proposals, confirmations, follow-ups)
- Contract template with every clause you need
- Client onboarding checklist and pre-event questionnaire
- Follow-up sequence that generates reviews and repeat bookings
- Red flag checklist for difficult clients
- CRM setup guide to track preferences and anniversaries
Frequently Asked Questions
How quickly should a private chef respond to inquiries?
Respond to private chef inquiries within 2-4 hours during business hours, or by next morning for evening inquiries. Faster response times (under 1 hour) significantly increase booking rates clients often contact multiple chefs and book whoever responds first. Set up email and SMS notifications so you never miss an inquiry. Even a brief acknowledgment ("I received your message, will send full proposal by [time]") shows professionalism and keeps you top of mind.
What should be included in a private chef consultation?
A private chef consultation should cover: dietary restrictions and preferences, event date/time/location, guest count and occasion, menu style preferences (formal vs casual, cuisines), service format (plated vs family-style), kitchen facilities and equipment available, timeline and flow of service, any special requests or themes, and budget expectations. This conversation also lets you assess client fit and set professional expectations. I typically spend 15-20 minutes on initial consultations and follow up with a written proposal within 24 hours.
How do private chefs handle menu changes close to the event?
Set clear deadlines for menu changes in your contract typically 5-7 days before the event for major changes, 48 hours for minor adjustments. After that point, changes may incur fees or may not be possible due to ingredient sourcing. Communicate this policy gently during booking: "To ensure I source the freshest ingredients and plan properly, I'll need final menu confirmation by [date]." Most clients understand. For truly last-minute dietary restrictions (allergies discovered day-of), have backup ingredients planned and stay flexible safety always comes first.
What's the best way to follow up after a private chef event?
Follow up within 24 hours with a personalized thank-you message referencing specific moments from the event ("Your guests' reaction to the beef was wonderful"). Include a gentle request for a review or testimonial, and ask if they'd like to discuss future events. Then add them to your email list for occasional updates (new menu offerings, availability, seasonal specials). The best clients come from repeat bookings and referrals nurturing the relationship after service is as important as the cooking itself.
How do you handle difficult clients as a private chef?
Start by setting clear boundaries in your contract: what's included, communication channels, change deadlines, and cancellation policies. During service, stay professional and solution-focused reframe complaints as opportunities to exceed expectations. If a client becomes unreasonable (constant last-minute changes, disrespectful behavior, scope creep), address it immediately and professionally. Sometimes you need to fire a client your reputation and mental health matter more than one booking. I've learned that the clients who respect your process and policies are the ones worth keeping.
Should private chefs stay during the meal or leave after cooking?
This depends on the service style and client preference always discuss it during consultation. For plated dinners with multiple courses, you typically stay to plate, serve, clear between courses, and manage timing. For family-style or buffet service, you might plate everything and leave unless the client wants continued service. Some clients want full white-glove service, others prefer privacy once food is ready. I usually offer both options with different price points: full-service costs more because it's more of your time. Set expectations clearly before the event.
How do you ask for testimonials without being pushy?
Ask at the peak of client satisfaction usually in your follow-up message 24 hours after service, when the experience is still fresh. Make it easy: "If you enjoyed the evening, I'd be grateful if you could share a few words about your experience. A short testimonial helps other families discover what we do." Include a direct link to your testimonial form or Google review page. Offer options: written testimonial, video (if they're comfortable), or Google review. Never demand or guilt-trip. About 40-50% of happy clients will leave reviews if you simply ask and make it convenient.
What client communication tools do private chefs need?
At minimum, you need: a professional email address (not @gmail), a mobile phone with voicemail, and a way to send proposals and contracts (Google Docs, PDF, or contract software like HoneyBook or Dubsado). As you grow, consider: a booking calendar system (Calendly), automated follow-up sequences, a CRM to track client details and preferences, and SMS reminders for event confirmations. Start simple email and phone are enough for your first 20 clients. Add tools as complexity grows, not before you need them.